


Easy Cyanotype Ideas for June 🌦️
Toning cyanotype tips, wet cyanotypes & more

We all know I love cyanotypes, the process is simple and easy to get hold of plus there are so many ways to stretch the medium ✨
Here are 4 easy ideas to inspire you…
Try wet cyanotypes
Embrace the weather :0
Play with double exposure cyanotypes
Experiment toning cyanotypes
Wet Cyanotypes 🩵
Wet cyanotypes are great way to reconnect with your process, it is more fluid than the typical process which means you, as the artist, are less in control. This allows a certain freedom to the work, it allows you to be playful. I would recommend making a list of the ‘ingredients’ you have used for your photograms as you might want to create a similar outcome again if you love it.


Embrace the Weather
It’s not always sunny here in the UK, especially not the North West where I live. Instead of seeing this as an obstacle to creating cyanotypes, it can sometimes be inspiring. Lower UV (a cloudy day) can offer a slower exposing time, giving you time to move objects, create different layers and document changes within the initial print.
Ice prints are a good example of this. It took a while to develop the print, giving the ice time to melt. Alternatively, you might want a UV so that you have other outcomes.
Another type of weather that can alter you print is rain. If you are leaving you print out for an extended period of time, or exposing wet cyanotypes, rain can create a lovely texture to the exposed or part exposed print.

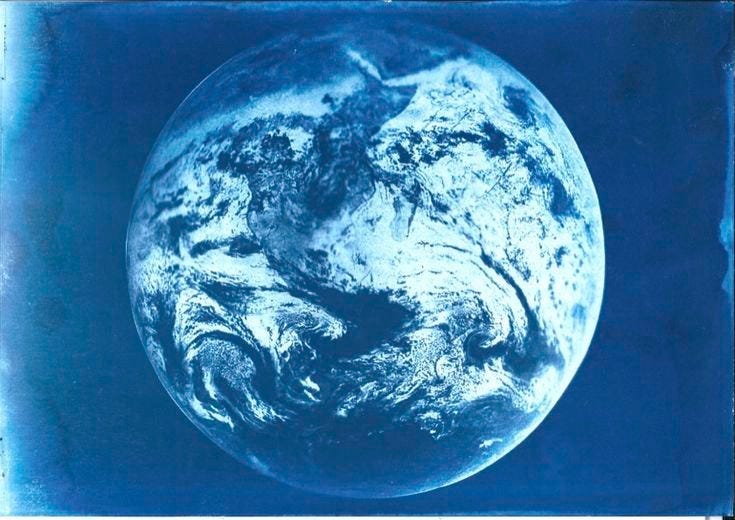
Double Exposure Cyanotypes
There are a few ways you can double expose your cyanotypes, but I’ll just explain what I did for this result:
1. Choose a print
I chose this mountain print becuase it was under-exposed and I thought it’d make a lovely test peice.
2. Coat the print
Mix up your normal cyanotype solution and coat the print as you usually would. It seems a little crazy, especially if you love your first layer of print, but trust the process!
3. Dry in the dark
This is pretty self explanatory ;)
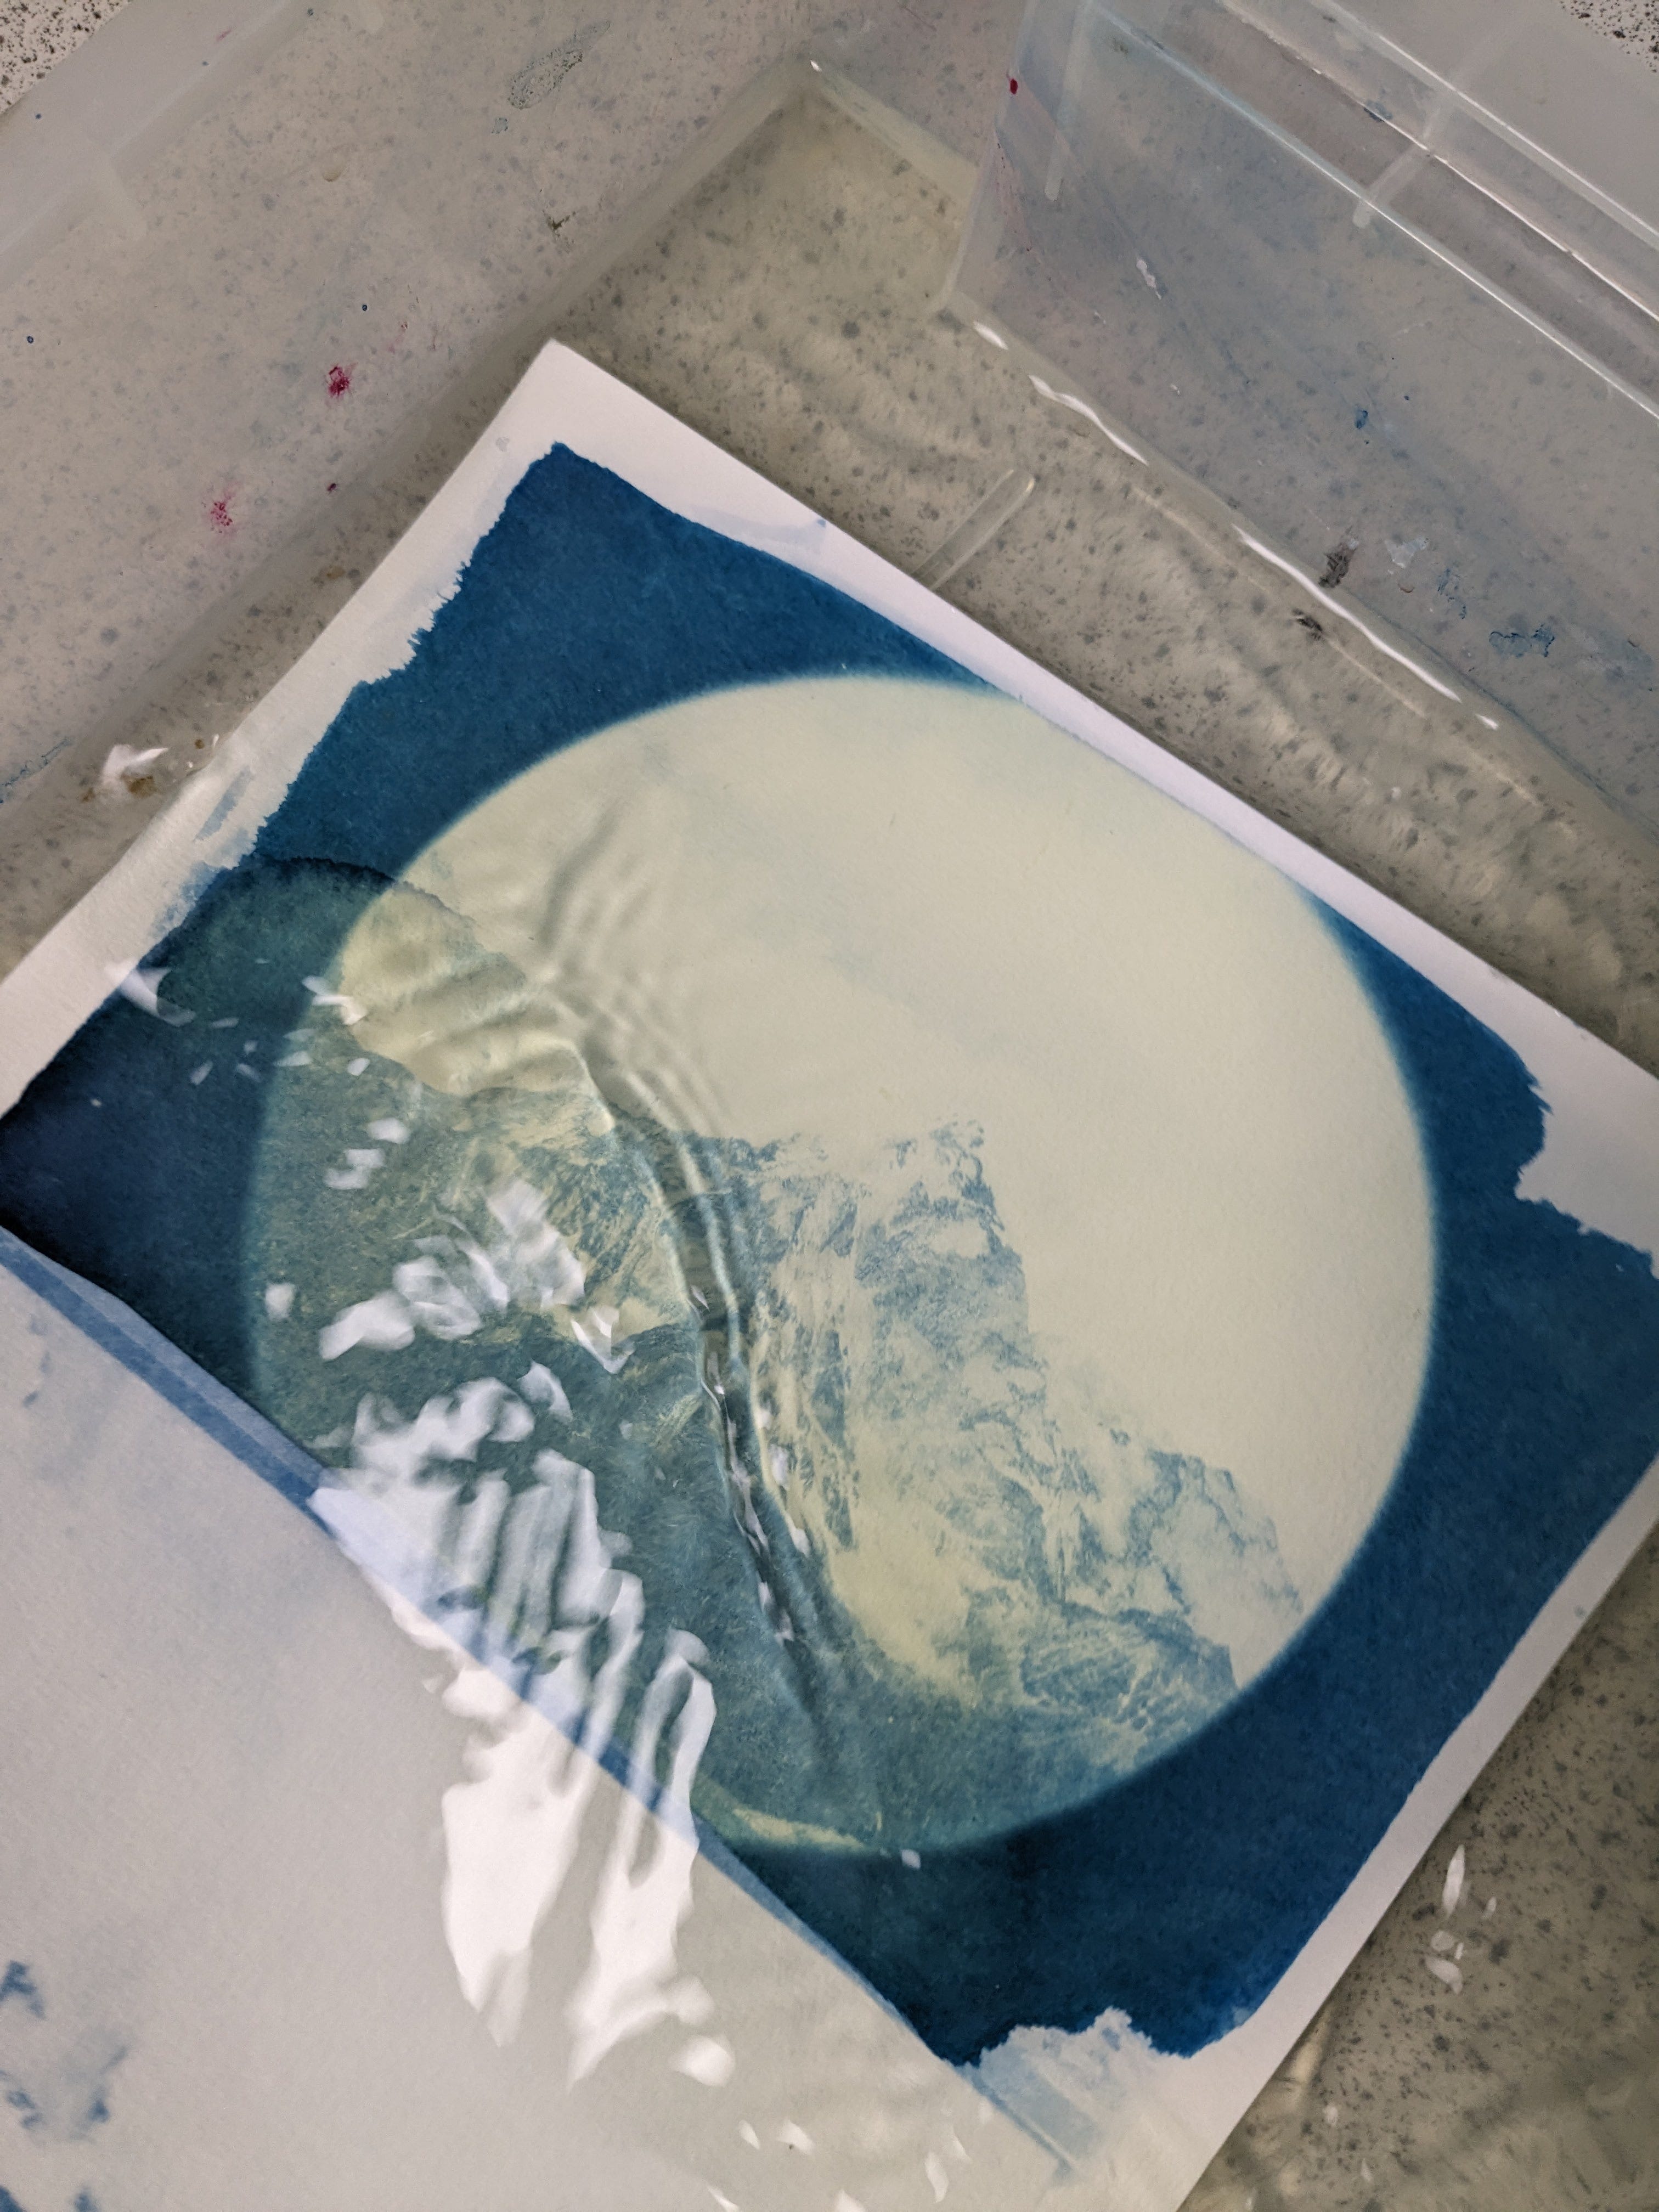
4. Re-expose
Choose the object you’d like to expose, bare in mind the negative space which is where you’ll see your first print. I chose a simple opaque tub lid to suggest a camera obscura.
5. Wash
Wash you print in water, just like you would normally and enjoy the results.


Experimenting with Toning
I have started testing a few toning solutions with cyanotypes that I haven’t loved. This cloud piece below was a victim of under-exposing, so I used it to experiment with green tea.
The green tea has given the print a stunning monochrome pallet with a purple tint (the tint is more visible in person). I didn’t bleach the print either, just straight in the green tea for about 30 mins, although you can see results after a few mins.

Here is photo guide to what I did 👇🏻 p.s. I didn’t wait until the green tea was cool, I just dunked it in warm ☕


I really hope you feel inspire by these ideas and this post can guide you towards making new work, or working back into prints, even the prints that aren’t your favourite.
Please feel free to share how you go in the comments section or send me a message. I intrigued as to what you will create.
All the best
That's very interesting!!!
Thank you for this! I’m so excited you’re here on Substack 💙